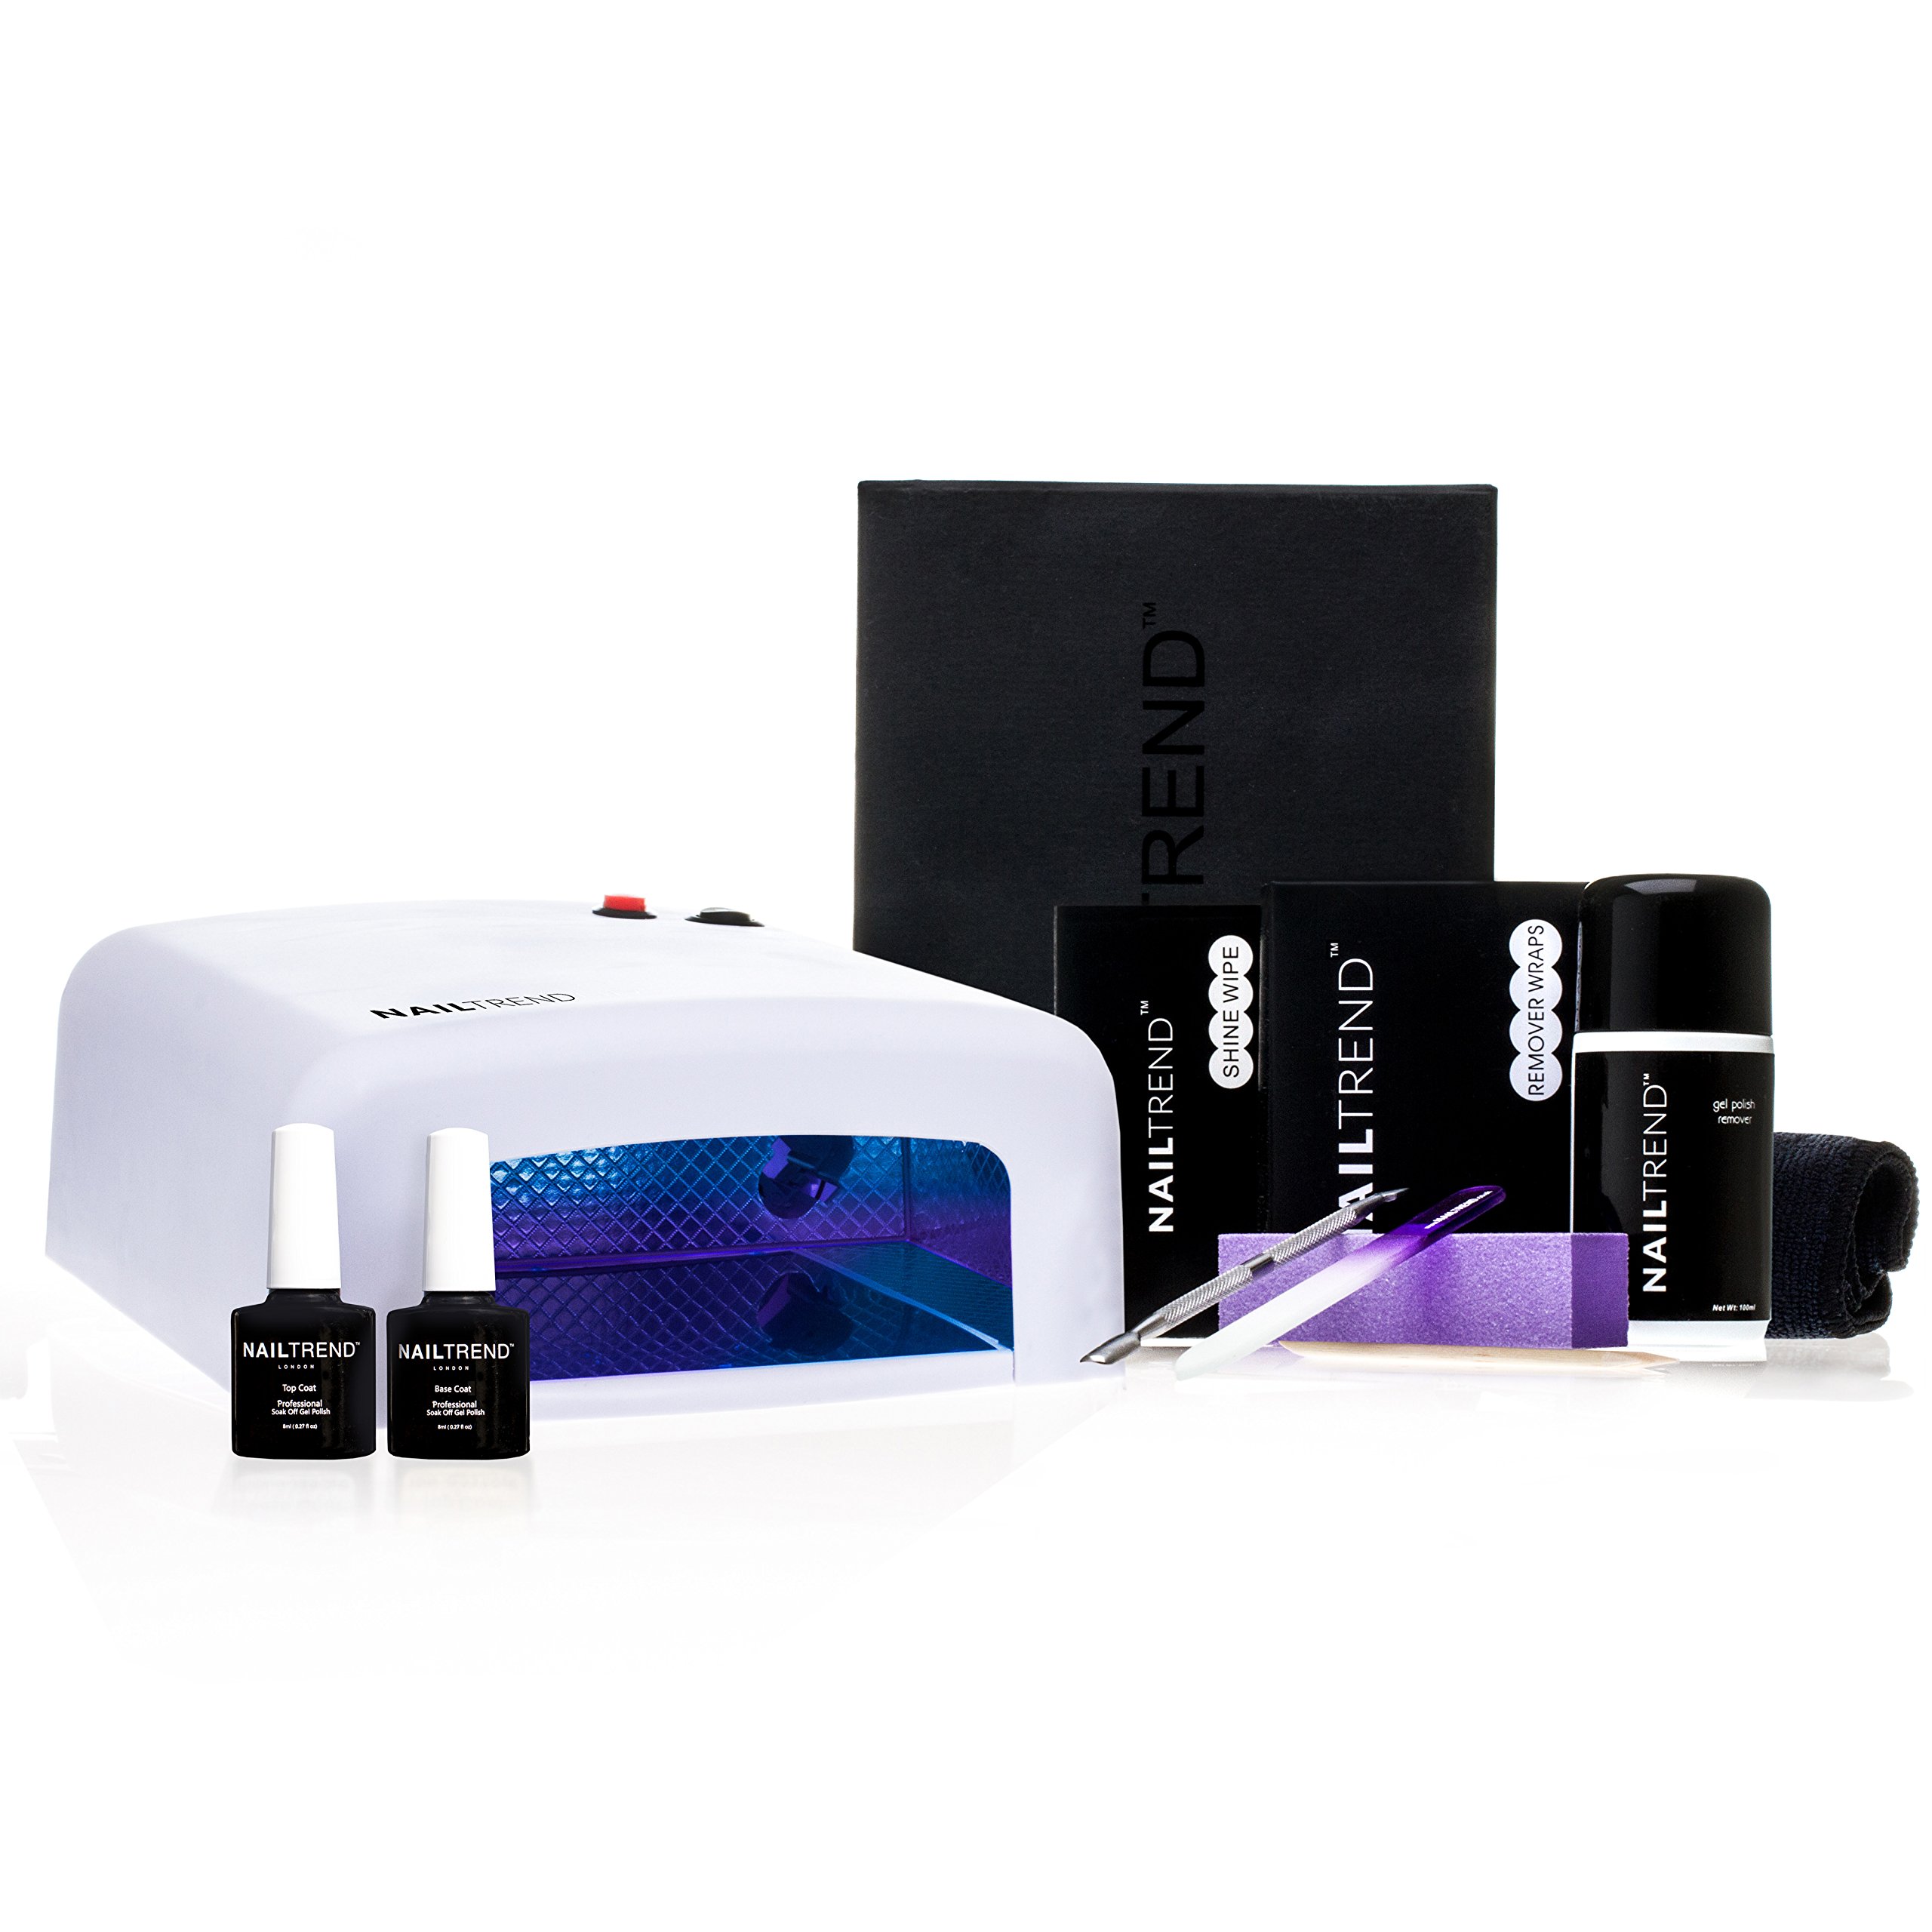
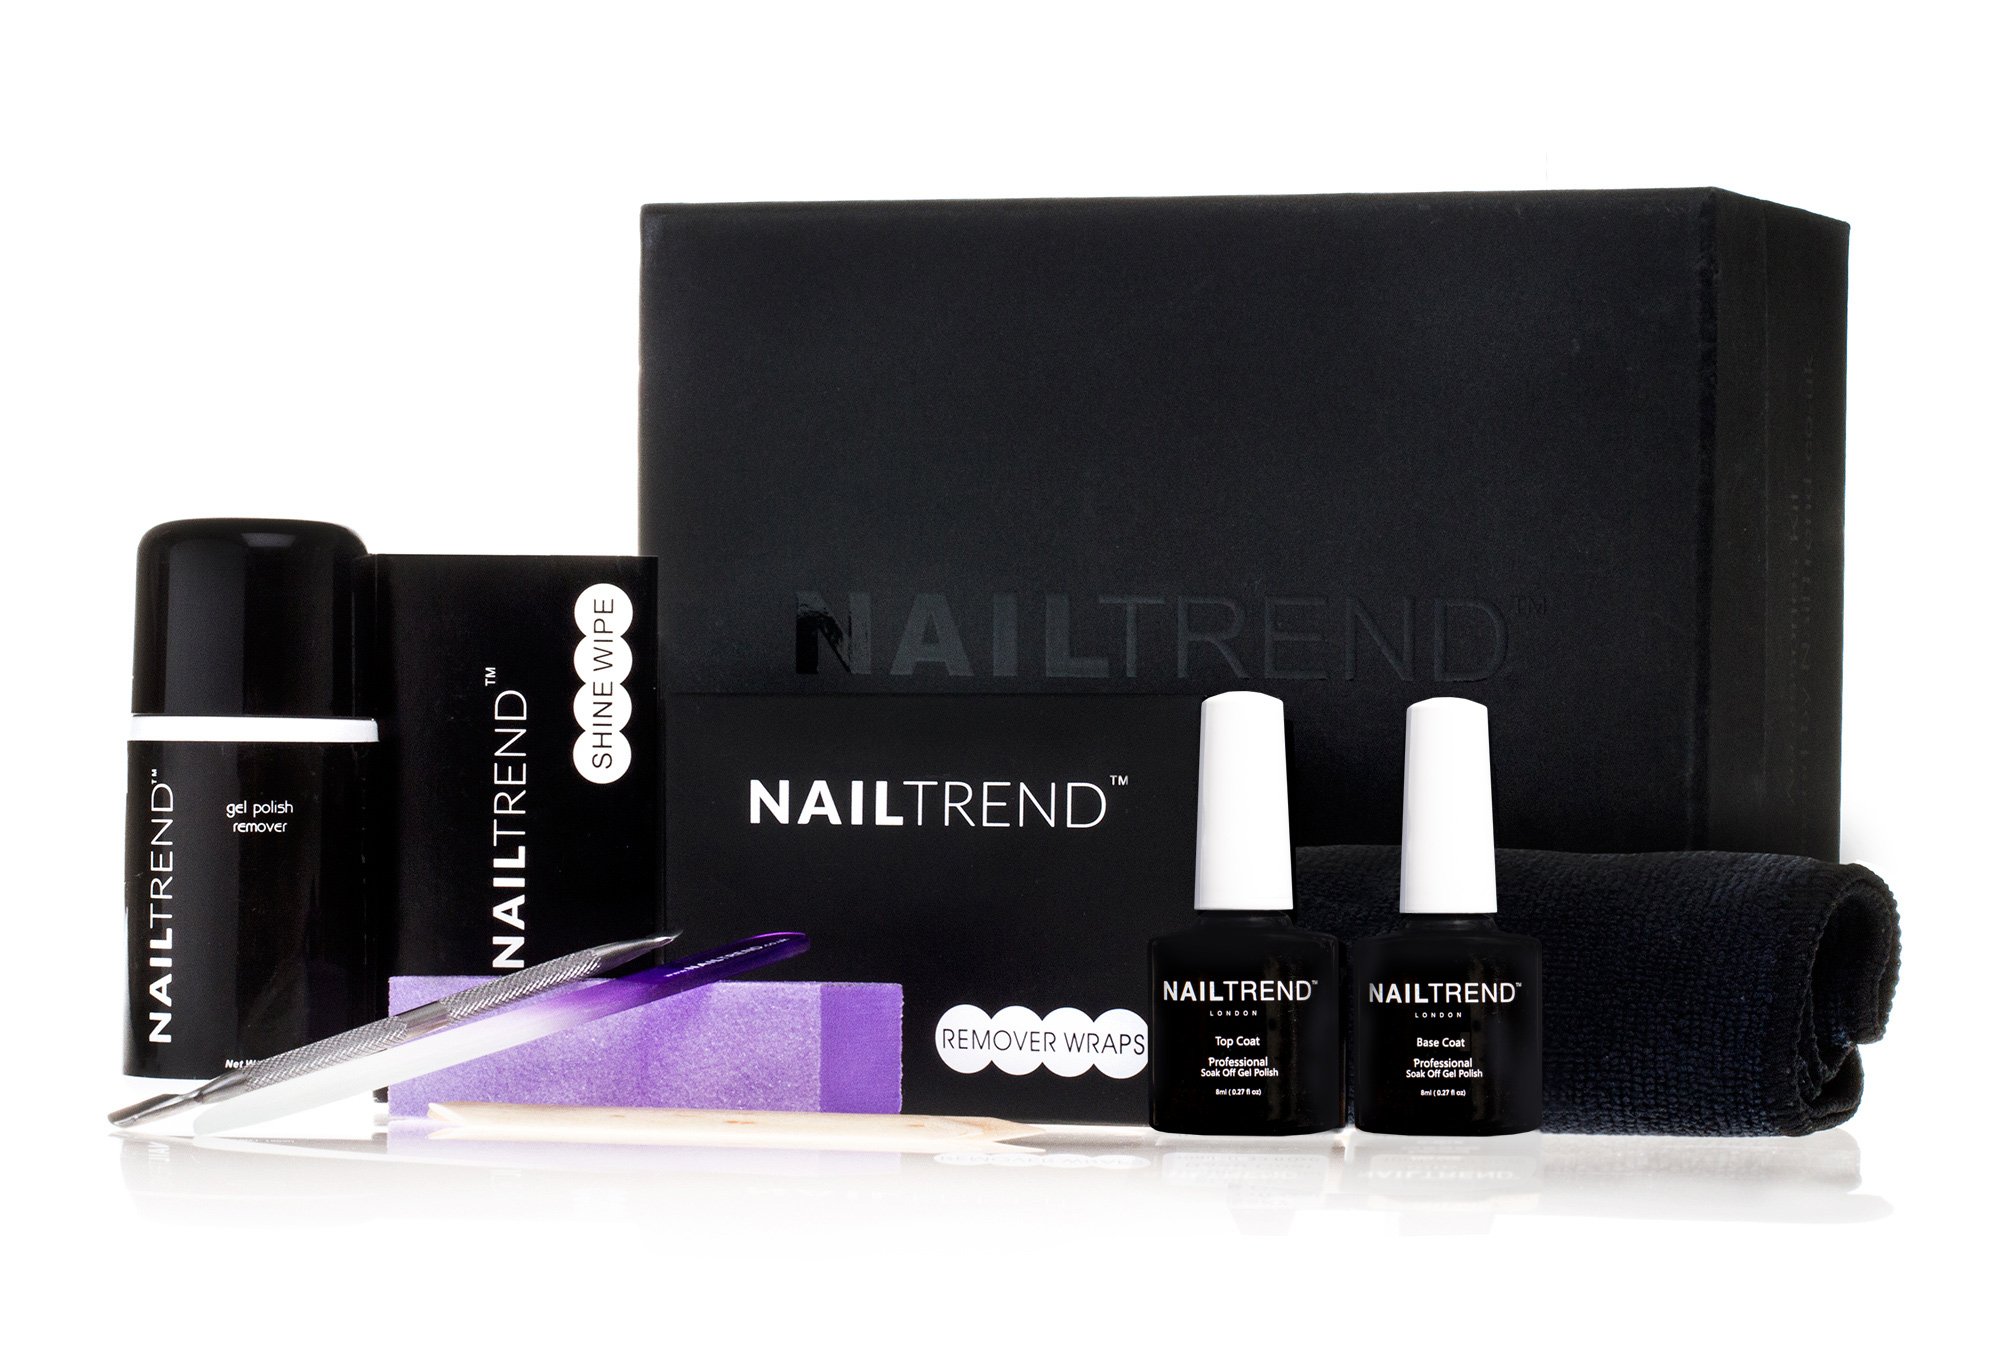
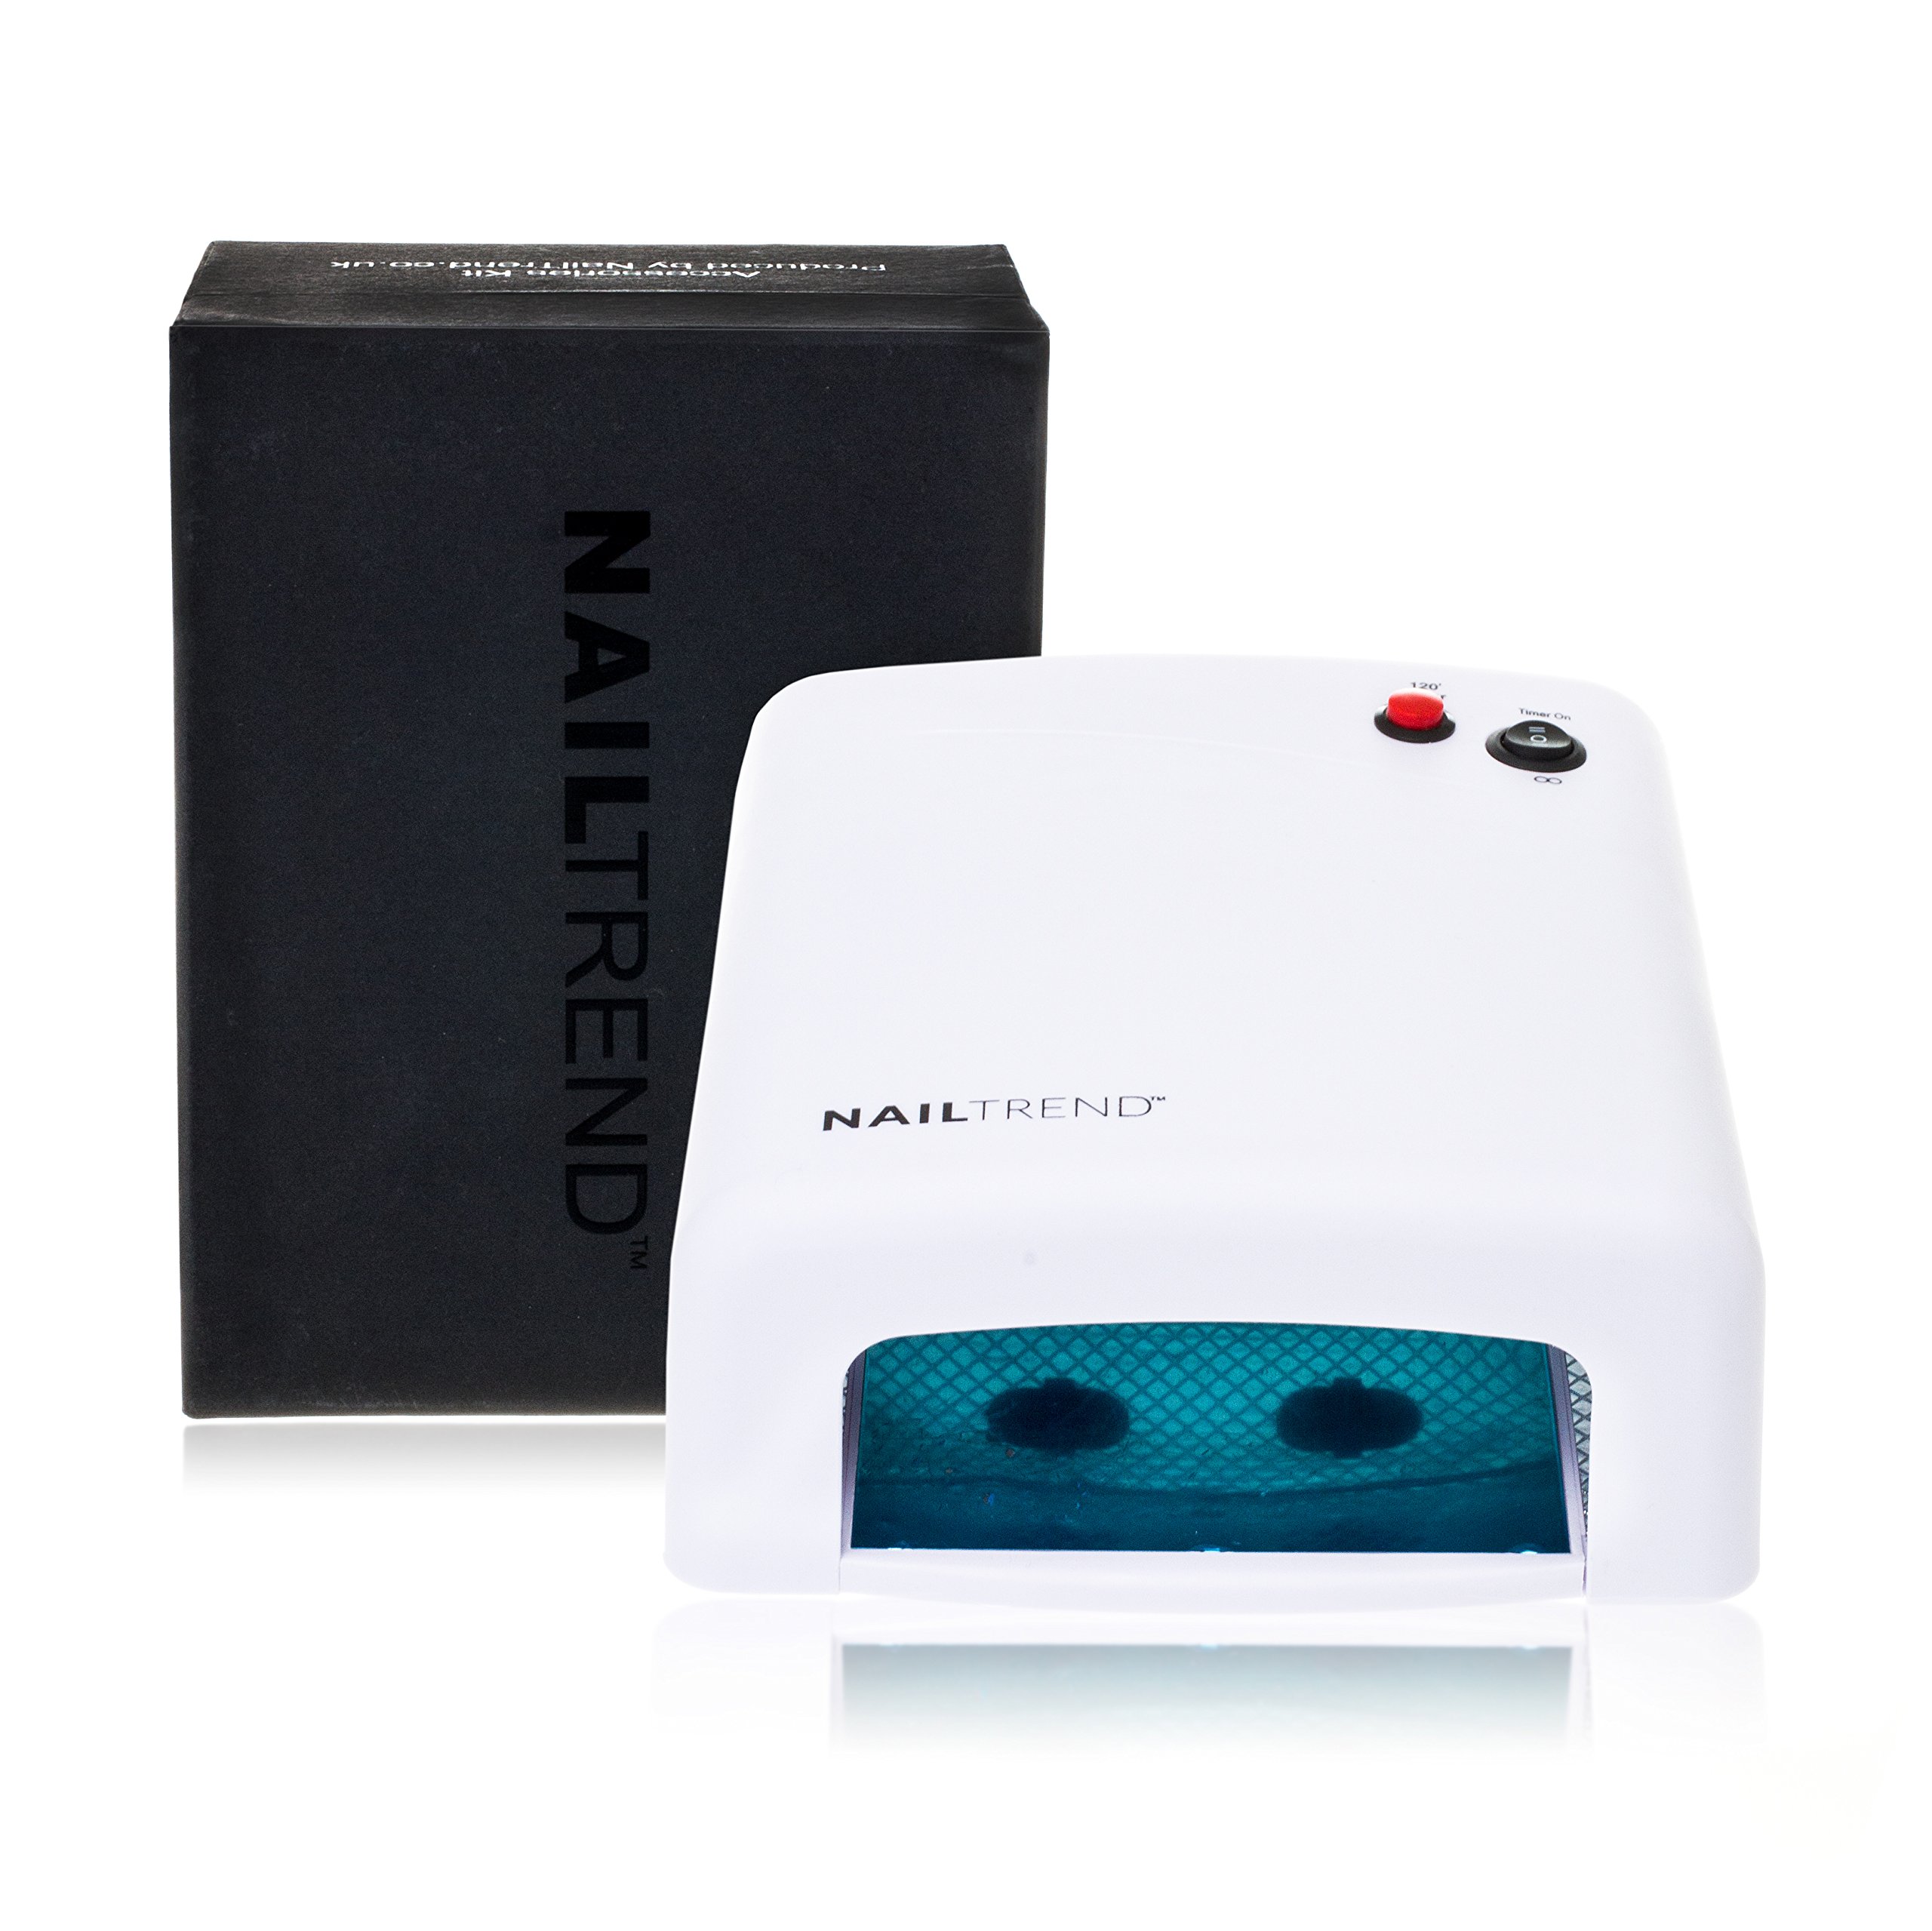
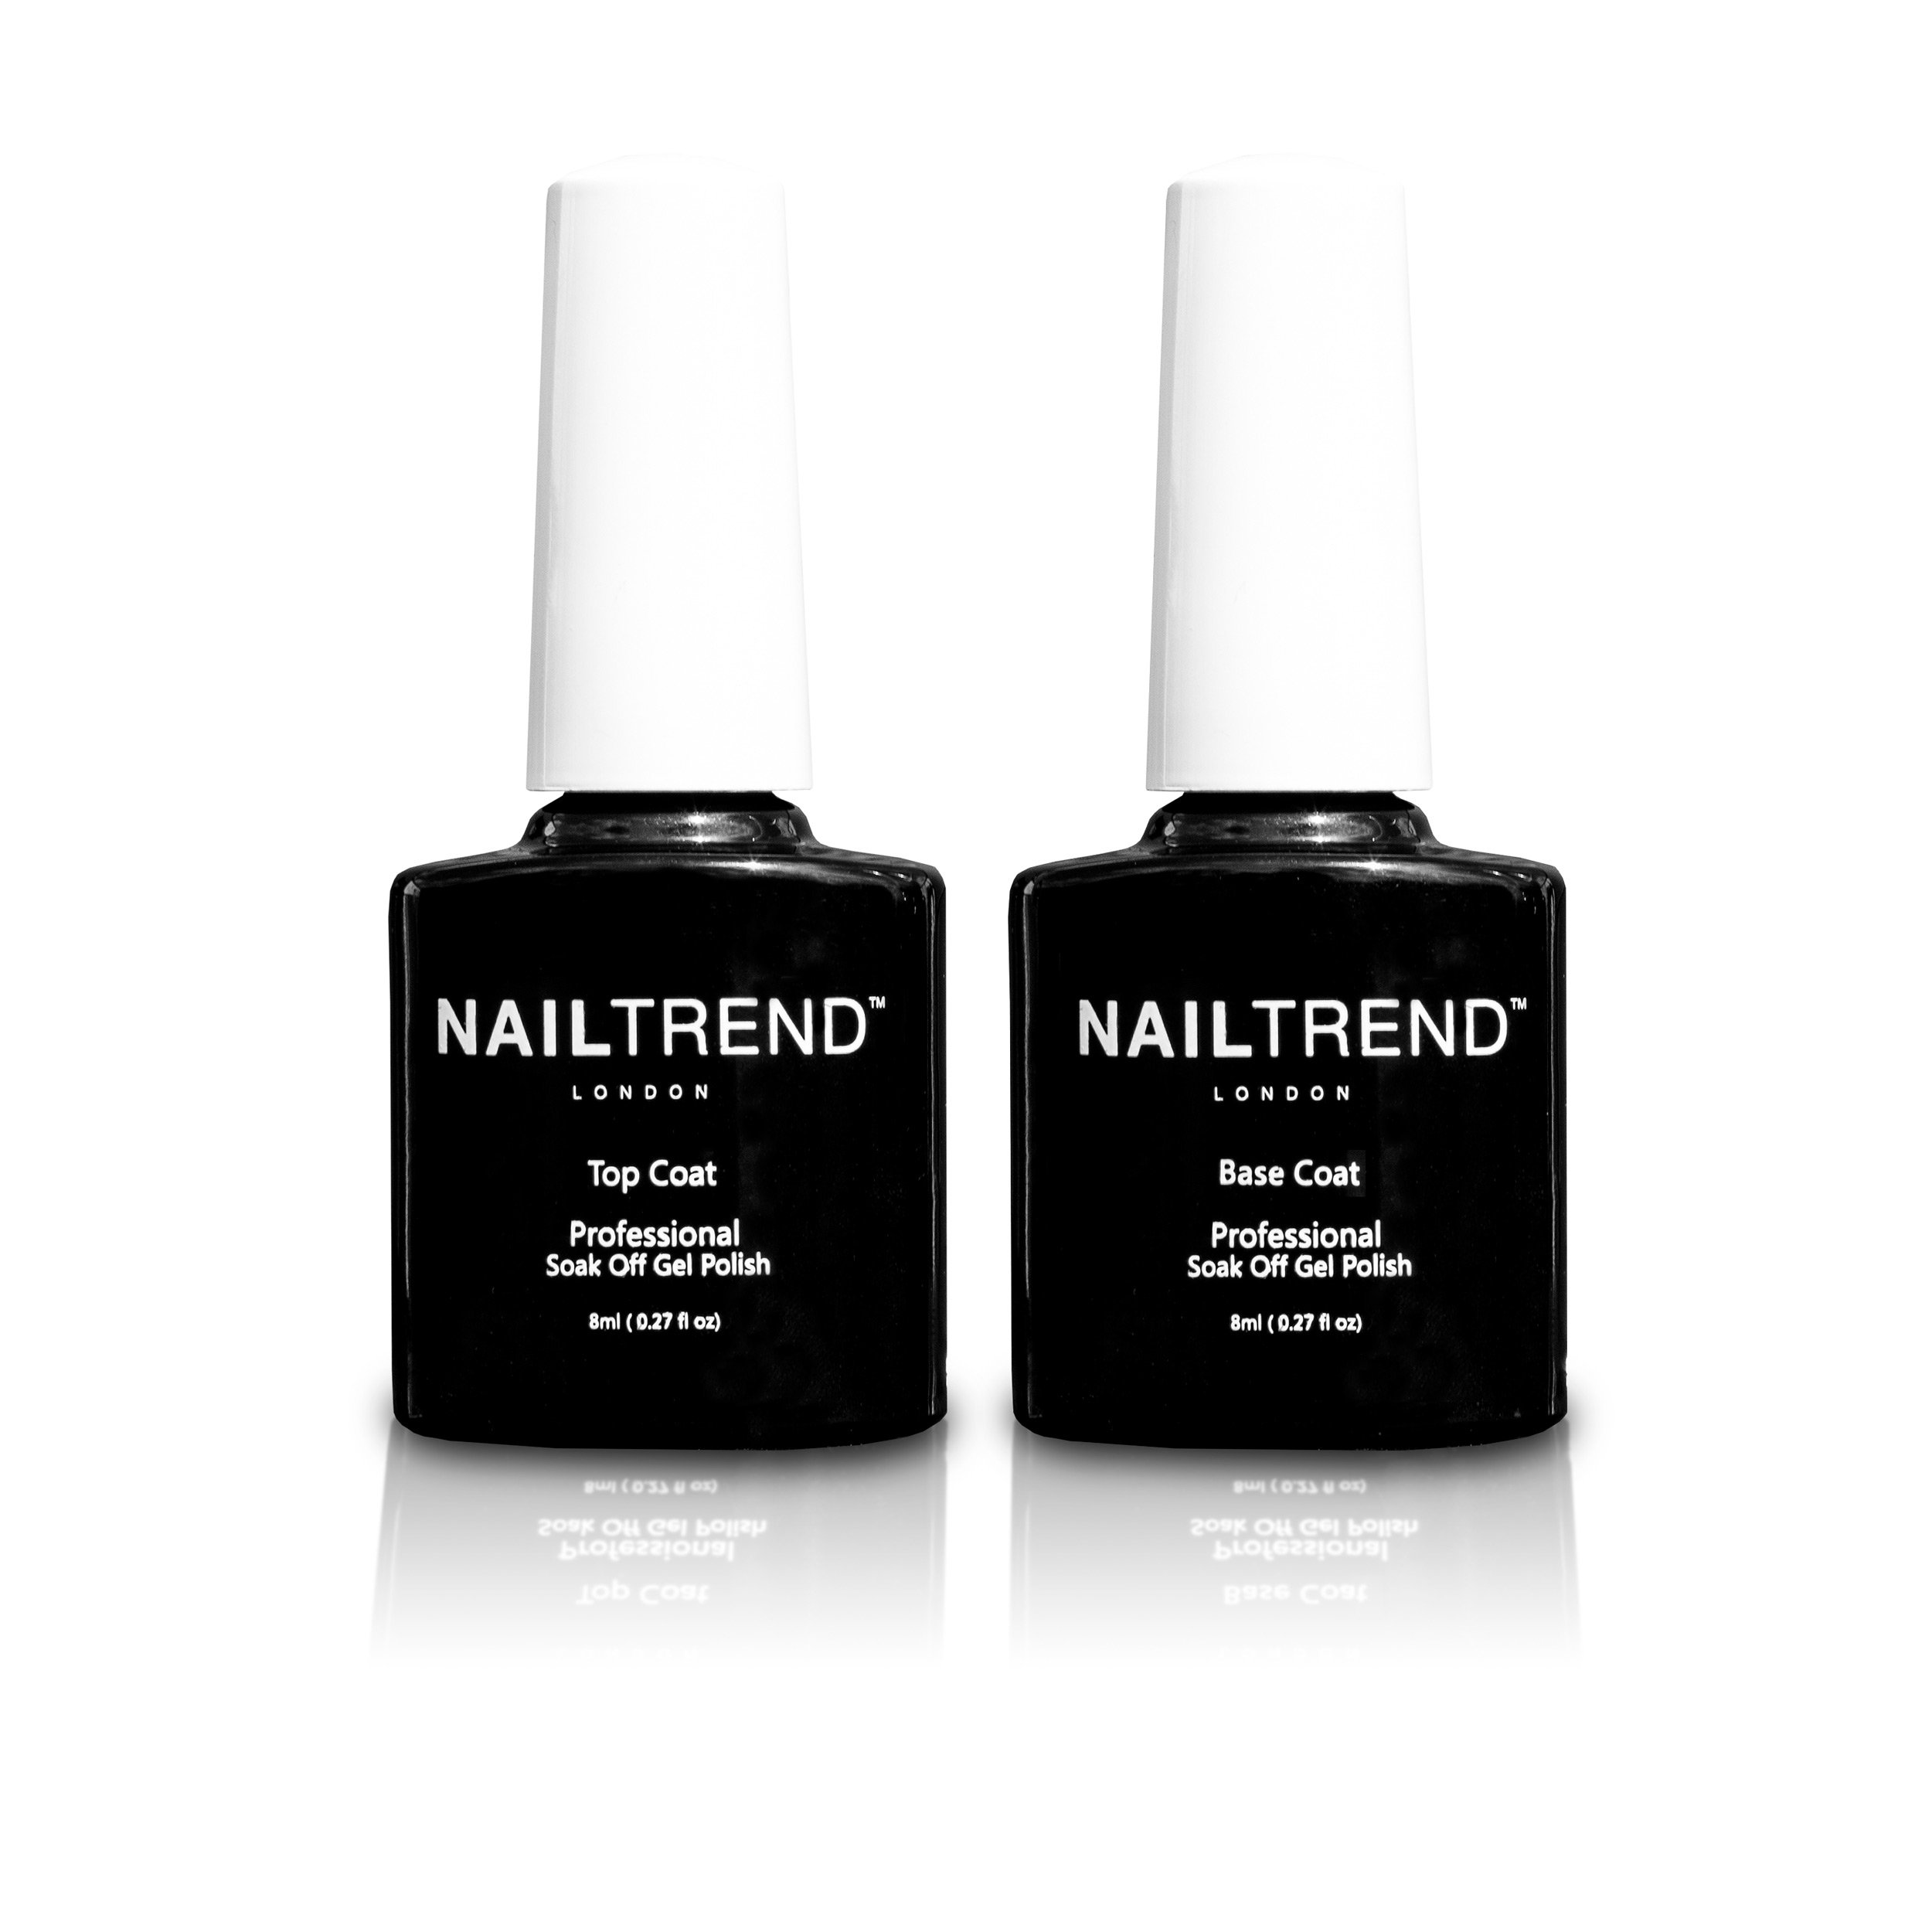
STEP 1: Nail Preparation. a. File and shape nails as required. b. Push back cuticles. c. Wash hands and wipe nails with cleanser ready for application. Please Note: Each layer of Gel will leave a sticky residue. Do not remove until instructed as this helps the next layer adhere. STEP 2: Base Coat Application a. Shake base coat bottle. b. Apply a thin layer of base coat to each nail surface up to cuticle free edge. c. Cure base coat for 30 secs in 36w UV lamp/ 30 secs LED lamp. d. Repeat on other hand. STEP 3: Colour Coat Application a. Shake polish bottle. b. Apply a thin layer of colour each nail surface up to the cuticle free edge. c. Cure colour coat for 2 minutes in 36w UV lamp/1 min LED lamp d. Repeat process on your other hand. c. Add another thin layer of colour coat. d. Repeat again on the other hand. STEP 4: Top Coat Application a. Shake Top Coat bottle. b. Apply a thin layer of Top Coat to each nail up to the cuticle free edge. c. Cure top coat for 2 minutes in 36w UV lamp/ 1 min LED lamp. d. Repeat process on the other hand. STEP 5: Remove Residue a. Remove the sticky residue with a Shine Wipe this also enhances shine and leaves gorgeous dry nails. Some dark colours may need 3 thin coats of colour polish to ensure and rich and even coverage. Gel Removal Remove Gel with a pure acetone based removal agent. You can use removal wraps a. Cotton wool pads and soak in acetone. b. Put cotton wool on nail and wrap with foil to hold in place. . c. Wait for 10 mins and scrape off with an orange stick or fine file. Precautions 1.If any damage happens to the lamp, stop using immediately - do not try to take apart. 2. Keep lamp dry at all times. 3. Watch lamp when the power is on at all times, and keep away from children. 4. Keep at room temperature. 5. Do not stare at the bulbs directly.
Trustpilot
4 days ago
2 months ago
